Kia ora! Got a space that creatives can use? Whether it’s for performances, workshops, exhibitions, or community meetups — adding your venue to the Creative Taupō directory helps connect your place with the people who need it. Here’s how to set up your venue listing:
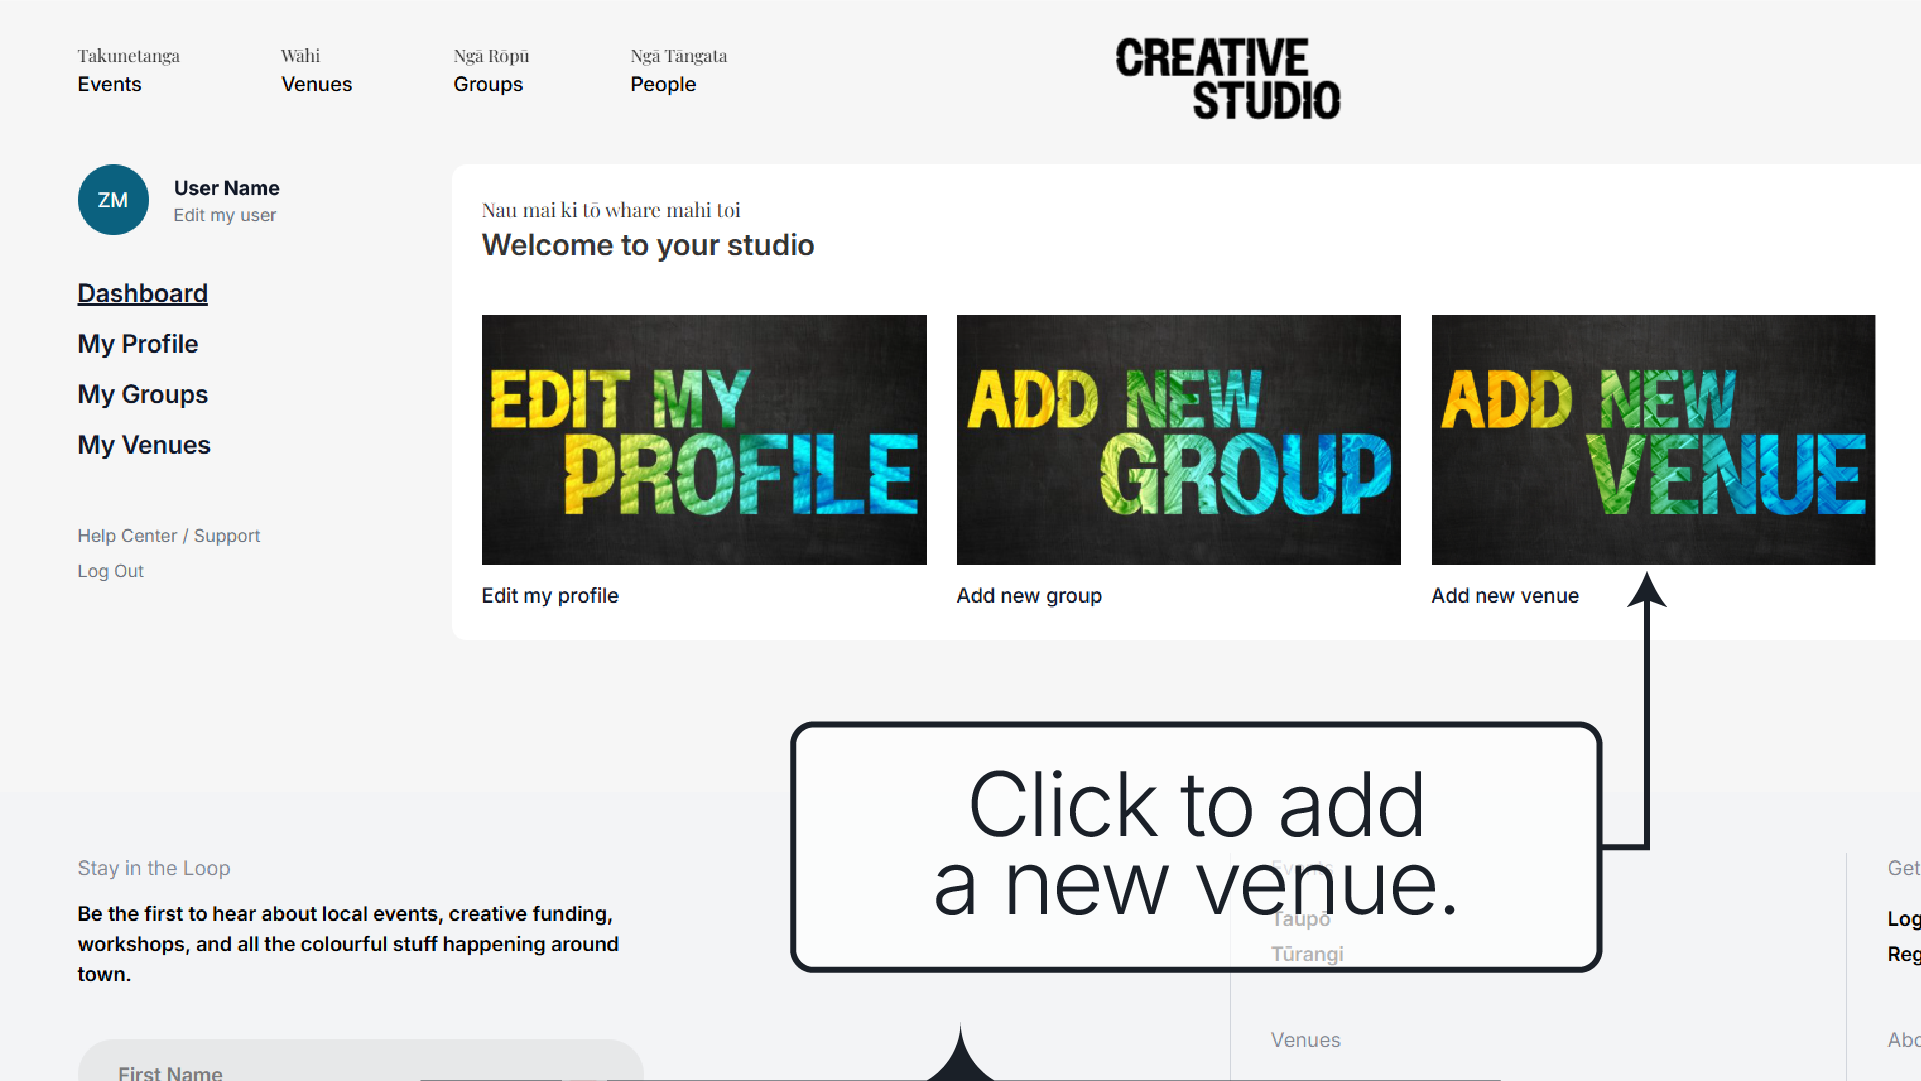
Step 1: Log In to Creative Studio
First, make sure you’ve created an account. If you haven’t yet, our account setup guide will help.
Once you’re logged in, head to the Creative Studio and click Add New Venue to begin.
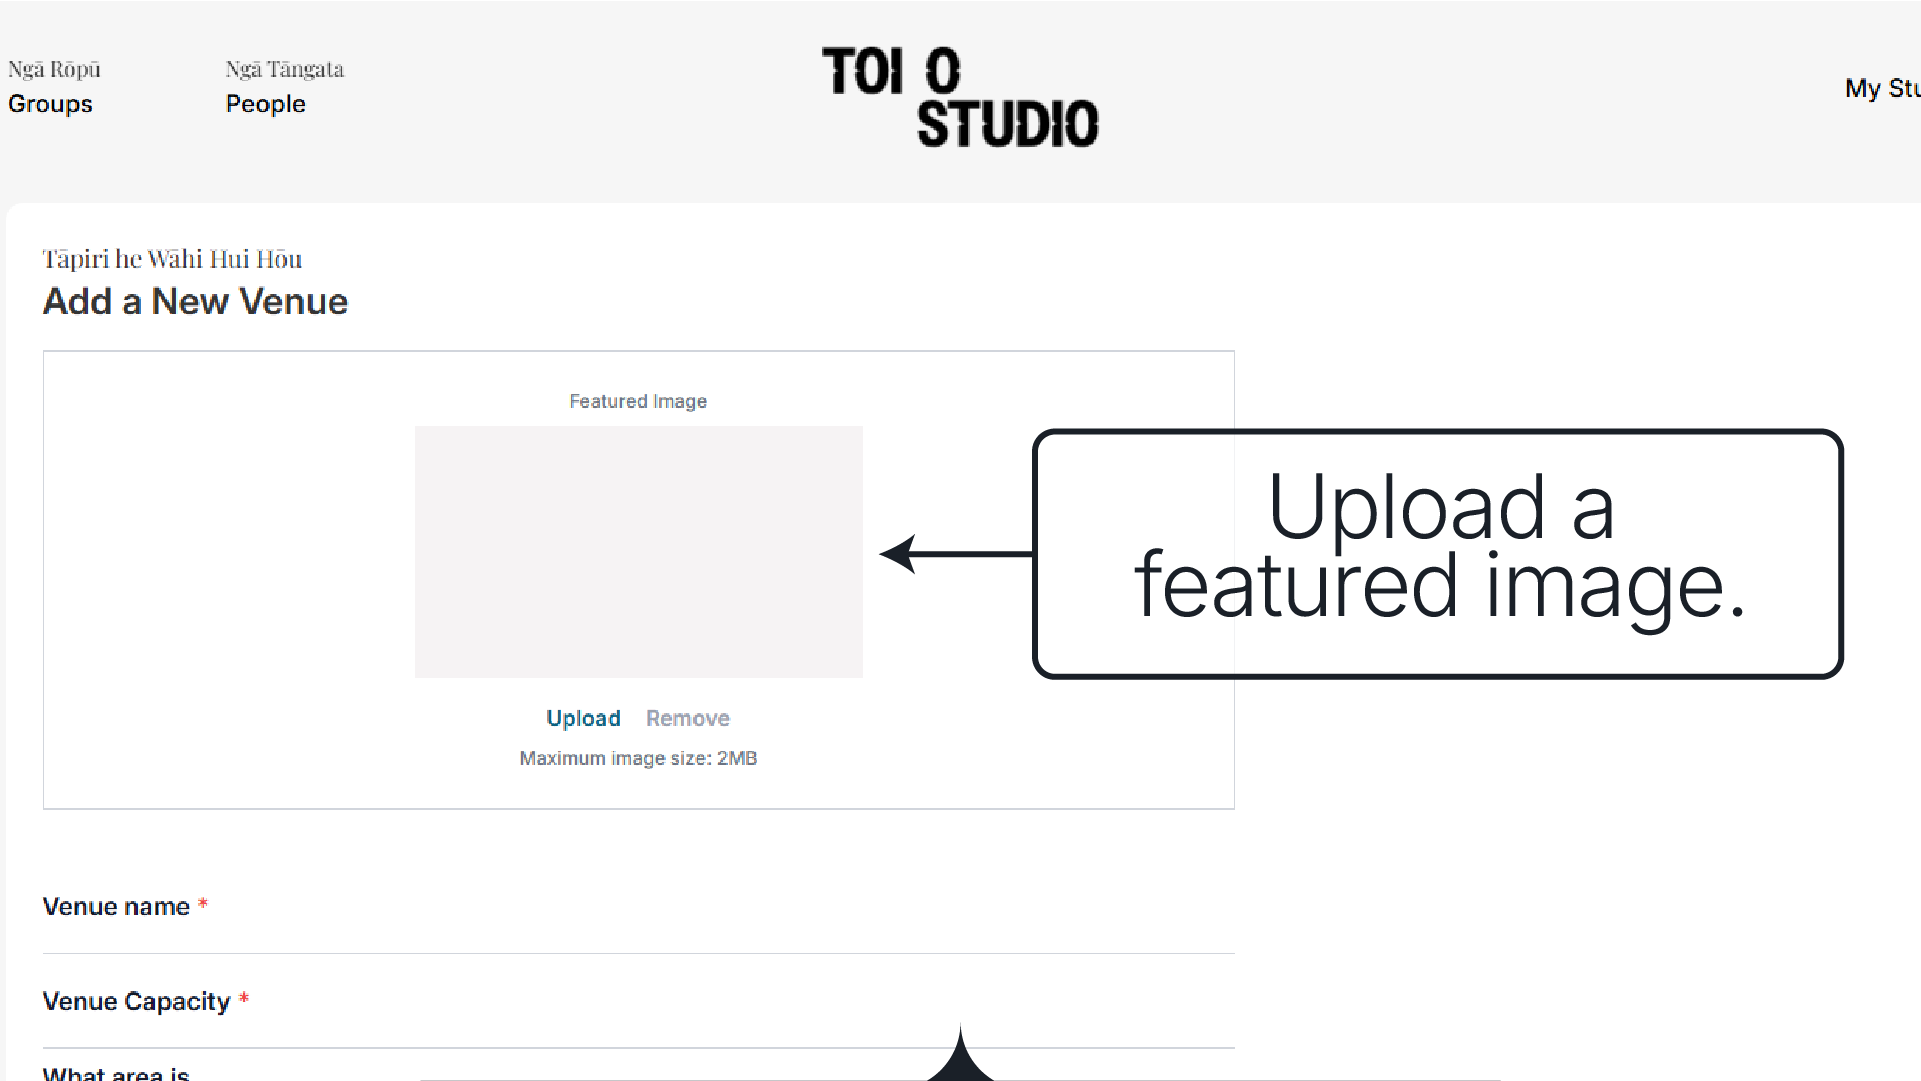
Step 2: Add a Featured Image
Your venue’s featured image is the first thing people will see — so make it count! Choose an image that:
Shows off the venue at its best
Feels inviting and professional
Is under 2MB in size
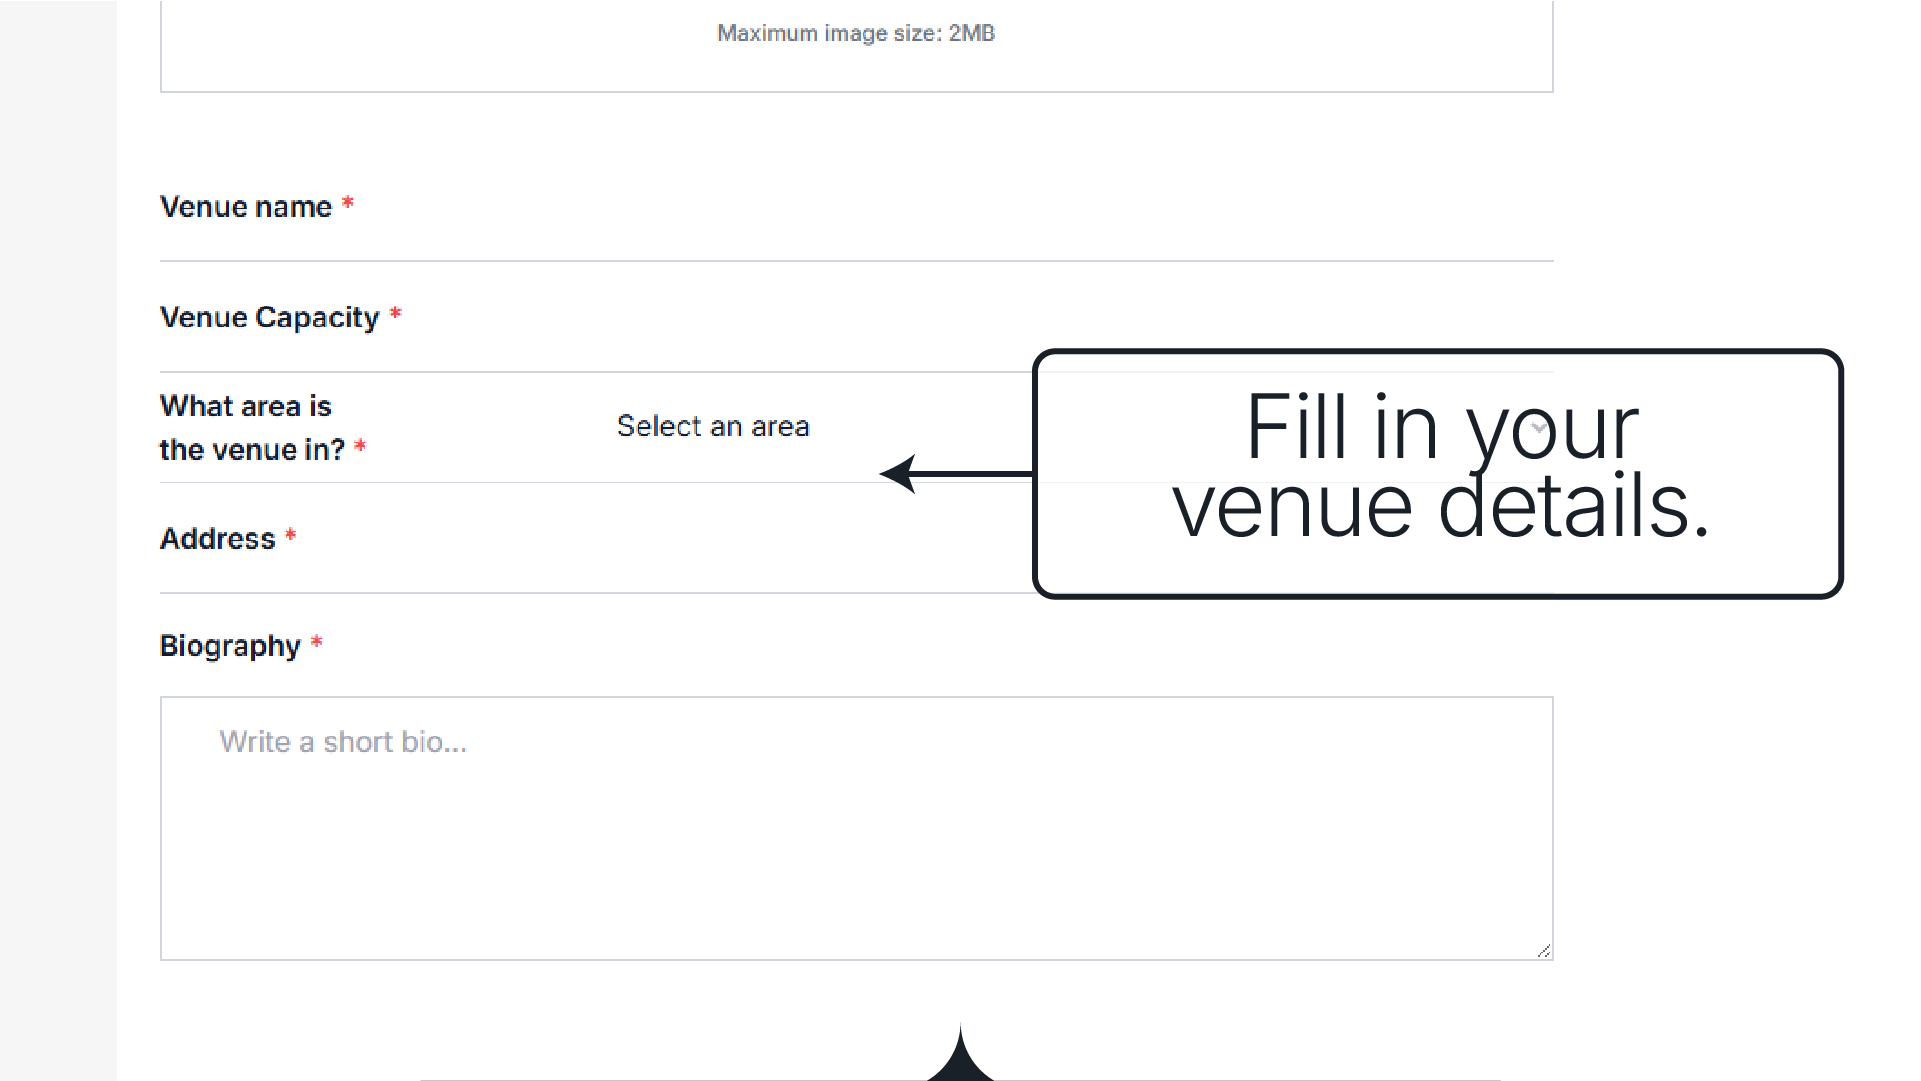
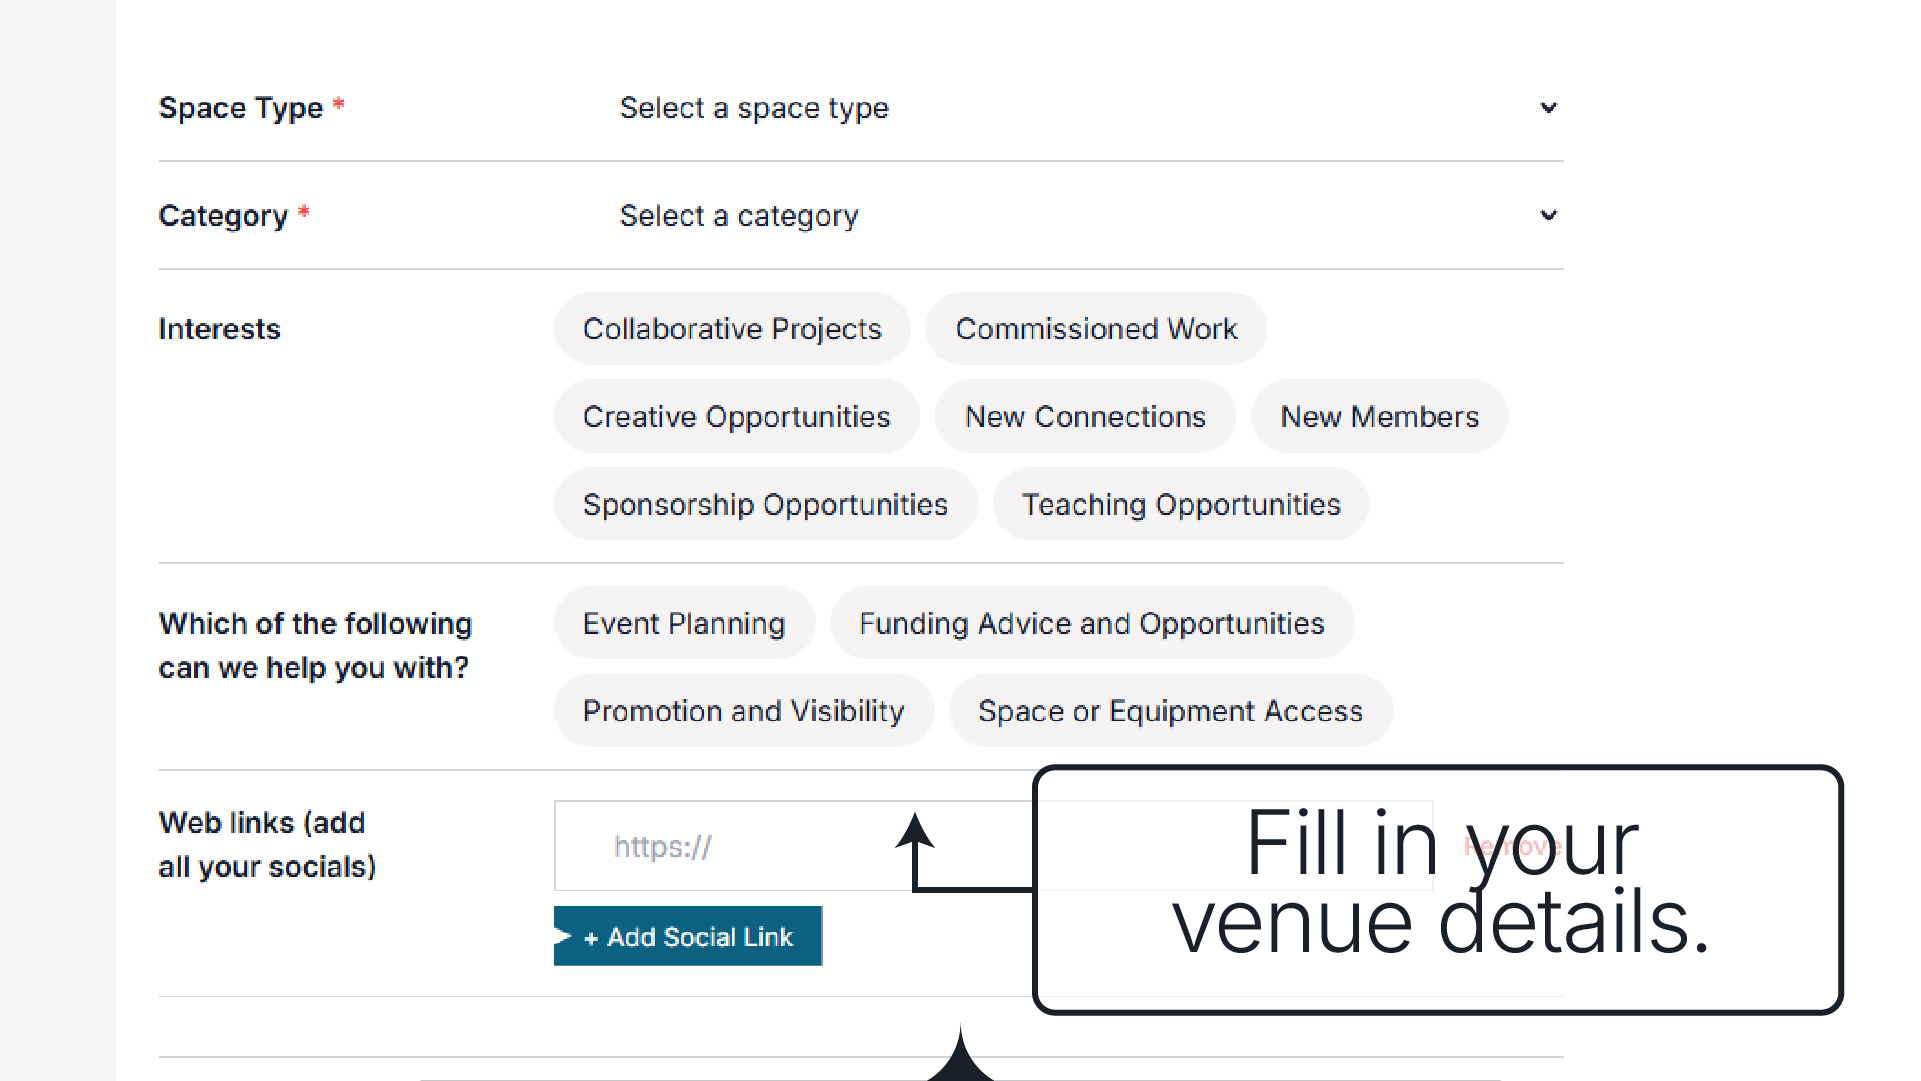
Step 3: Fill in Your Venue Details
Next, tell us about your space:
Venue Name
Capacity – How many people can it hold?
Location – Where in the Taupō district is it?
Address
Biography – What’s the venue used for? What makes it special? Any regular programming or events?
Be as descriptive as you like — this is your chance to attract bookings and collaborations.
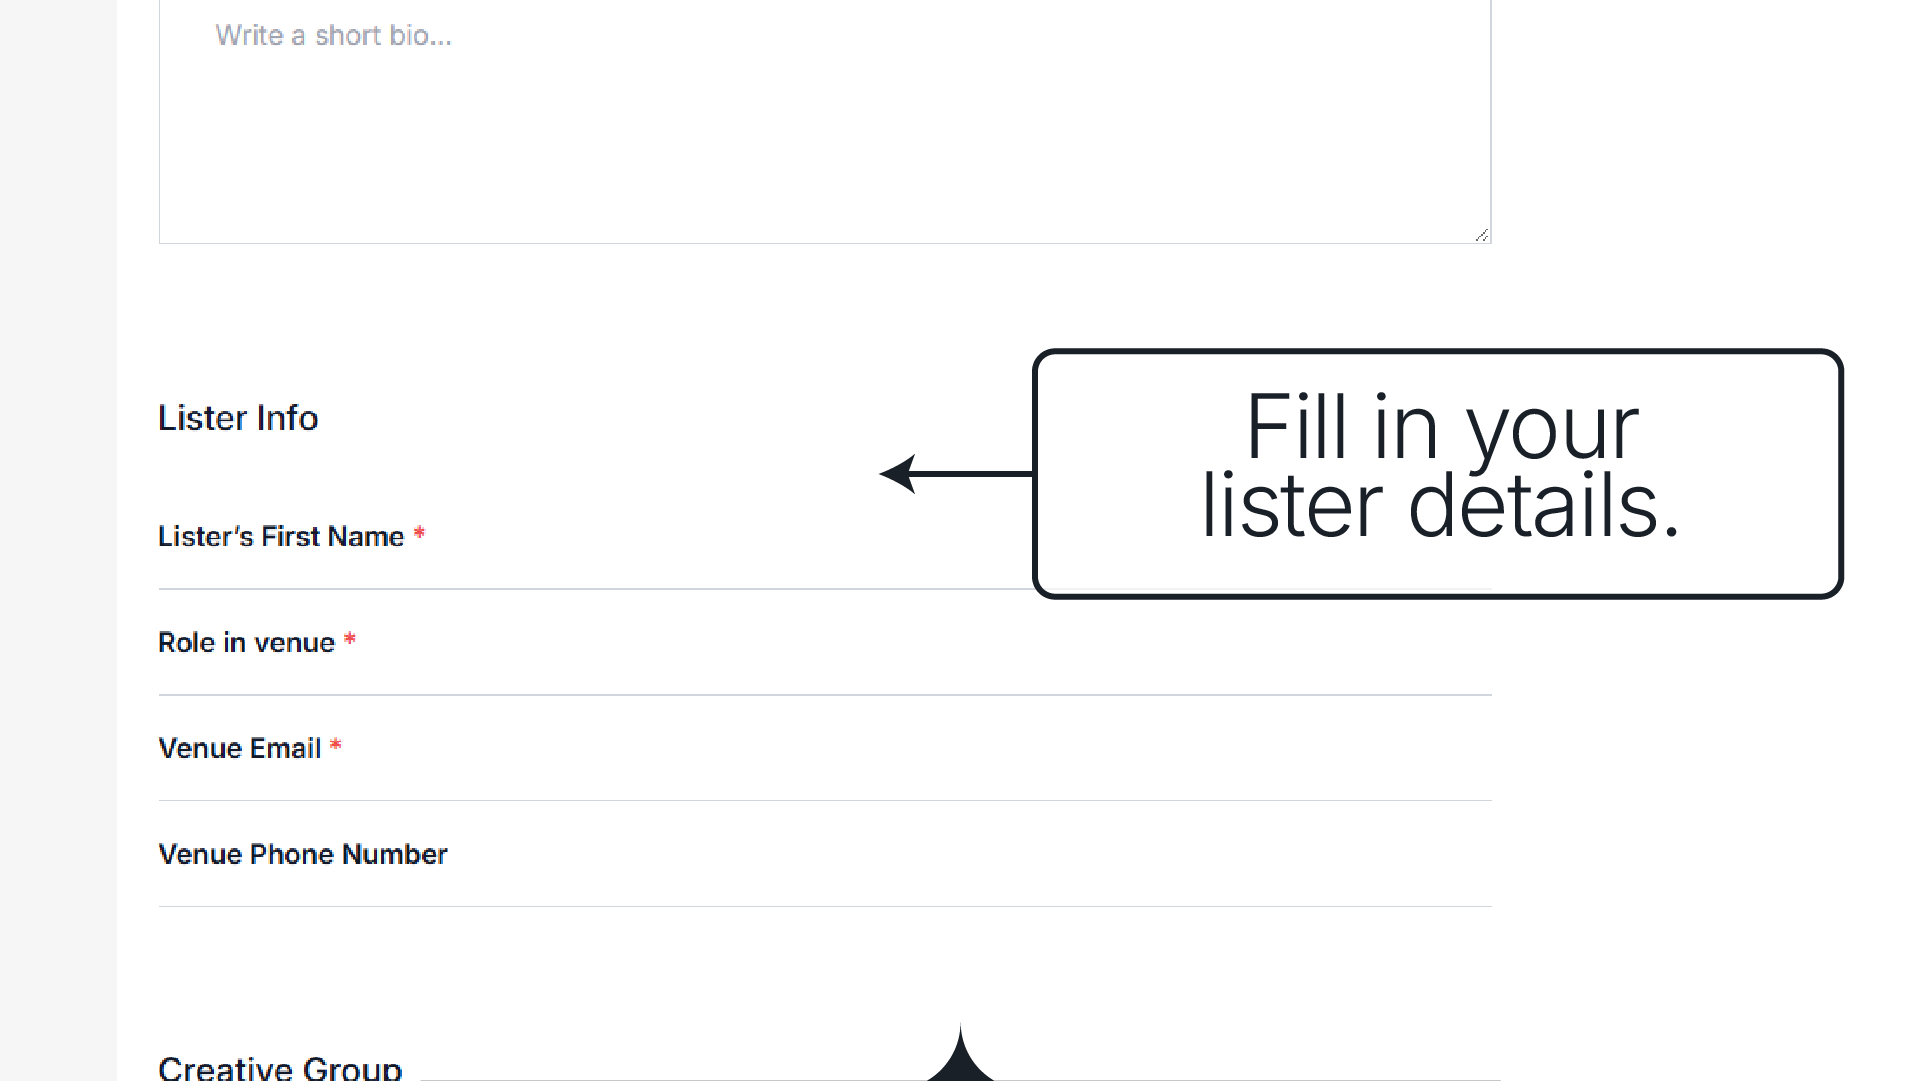
Step 4: Add Contact Info
In the Lister’s Info section, provide contact details for someone managing the venue. These will appear in the public directory so people can reach out directly.
No worries about spam — your email is protected behind the scenes.
Step 5: Venue Details & Web Links
Under the Creative Group section (yes, it covers venues too!), you’ll let us know:
What category your venue fits into
The types of events you’d love to host
What facilities or features your venue has (e.g., lighting, sound system, kitchen)
Where people can learn more — add your website, Facebook page, or other links
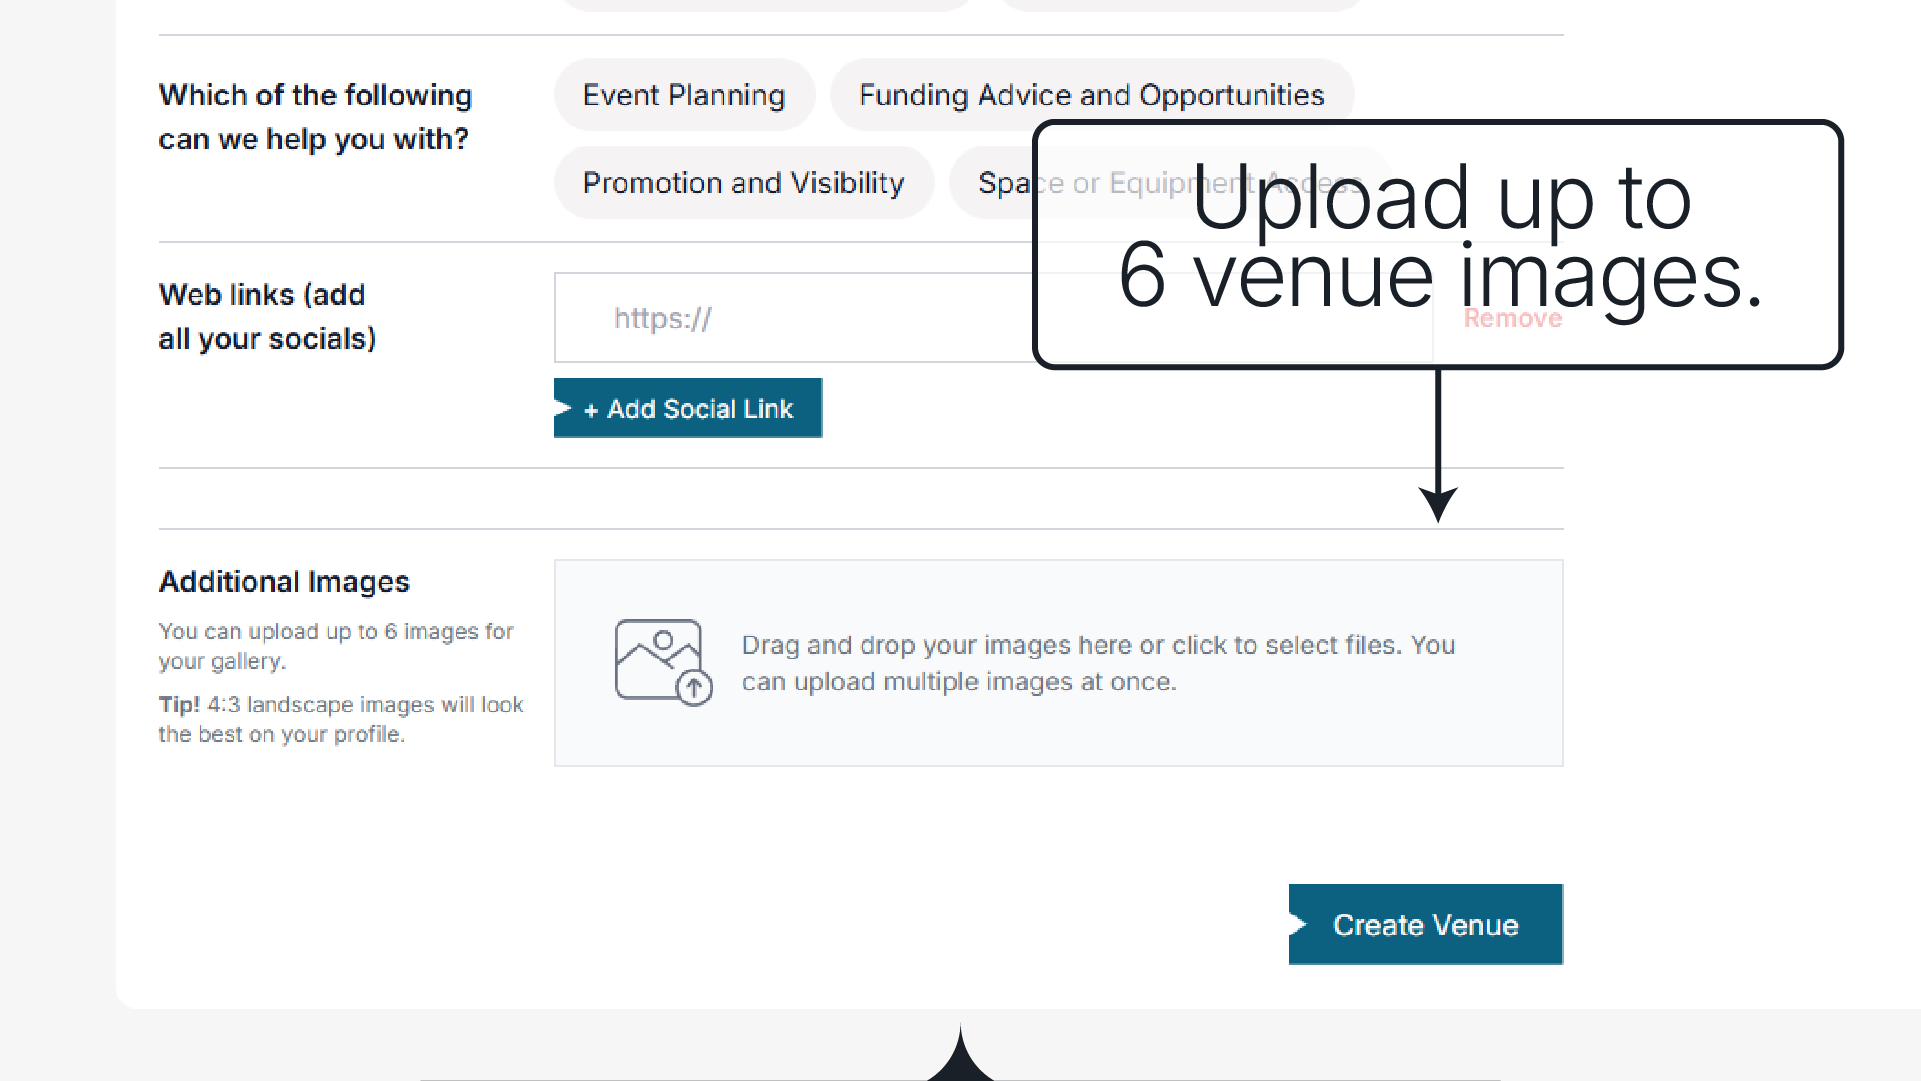
Step 6: Show Off Your Space
In the Additional Images gallery, upload up to 6 images of your venue. These display best in a 4:3 landscape format and must be under 2MB each.
Use this space to give viewers a real feel for the vibe and layout of your venue.
Step 7: Save and Submit
When everything looks good, hit Create Venue.
Your listing will be sent to the Arts Coordinator for approval — just a quick check to keep things safe and appropriate for everyone.
Once approved, you’ll get an email confirming your venue is live!
🎉 Ka pai! Your Venue is Now in the Directory
Thanks for sharing your space with Taupō’s creative community. Whether it’s a theatre, gallery, studio, or hall — your venue is now part of something bigger!
Troubleshooting & Tips
Want to view or manage your venues?
Log in, then head to your dashboard and click My Venues in the left-hand menu.
Pending venues will be flagged as “pending”
Approved listings can be edited or viewed from here
Click View Venue in the top right to see your live profile
Need to update your listing?
You can make edits at any time — just update the fields and hit Save Venue.
Running multiple venues?
No problem, accounts can make and manage multiple venues with ease, just follow the steps each time you want to make a new group.